History of photography
AN EARLY INSTRUMENT USED WAS THE CAMERA OBSCURA, THIS IS A DARK ROOM OR SPACE IN WHICH AN INVERTED IMAGE WAS PROJECTED ONTO A SURFACE.
AS TECHNOLOGY DEVELOPED, MORE CONTROLLABLE DEVICES LIKE THE CAMERA LUCIDA WERE USED, THESE WERE USED AS PORTABLE OPTICAL DEVICES.
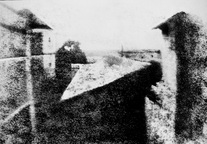
IN 1827, THE SCIENTIST JOESPSH NIEPCE SUCCESSFULLY FIXED THE FIRST PROJECTED IMAGE. IT WAS THE VIEW FROM HIS WINDOW IN THE SOUTH OF FRANCE.
LOUIS DAGUERRE WAS A PAINTER OF STAGE SETS WHO WORKED WITH NIEPCE. HE TOOK THE FIRST EVER PHOTO OF A PERSON IN 1838, IT WAS OF THE STREETS OF PARIS AND THE PERSON WAS GETTIN HIS SHOES SHINED, IT TOOK 7 MINUTES TO EXPOSE.
IN 1939, DAGUERRE OFFICALLY ANNOUNCED THE INVENTION OF THE DAGUERREOTYPE, A PHOTOGAPH LATERALLY REVERSED AND MONOCHROMATIC PRINTED ONTO A METAL PLATE.
NEAR THE SAME TIME, AN ENGLISHMAN CALLED WILLIAM HENRY FOX TALBOT DEVELOPED ANOTHER TYPE OF PHOTOGRAPH CALLED CALOTYPE. CALOTYPE HAD THE ADVANTAGE OVER THE DAGUERRETYPE; THAT IT COULD BE REPRODUCED A NEGATIVE, RATHER THAN A SINGLE, UNDUPLICATABLE IMAGE.
TALBOT'S CALOTYPE WAS SUPERIOR IN TERMS OF MASS PRODUCTION. HOWEVER, IT LACKED SHARPNESS AND AN OVERALL QUALITY COMPARED WITH DAGUERREOTYPE AND FOR THIS REASON WAS LESS POPULAR IN THE EARLY YEARS.
HOWEVER, THE CALOTYPE IMPROVED OVER TIME AND AS THE PAPER TECHNOLOGY ENHANCED IT LED TO BETTER PROCESSING. THEREFORE, SOON THE CALOTYPE BECAME THE MOST POPULAR FORM OF PHOTOGAPHY AND IS STILL WIDELY USED TODAY.
TALBOT'S INITIAL PHOTOGRAPHIC EXPERIMENTS INVOLVED PRODUCING PHOTOGRAMS, HE REFERRED TO THESE AS 'PHOTOGENIC DRAWINGS'.
AS TECHNOLOGY DEVELOPED, MORE CONTROLLABLE DEVICES LIKE THE CAMERA LUCIDA WERE USED, THESE WERE USED AS PORTABLE OPTICAL DEVICES.
IN 1827, THE SCIENTIST JOESPSH NIEPCE SUCCESSFULLY FIXED THE FIRST PROJECTED IMAGE. IT WAS THE VIEW FROM HIS WINDOW IN THE SOUTH OF FRANCE.
LOUIS DAGUERRE WAS A PAINTER OF STAGE SETS WHO WORKED WITH NIEPCE. HE TOOK THE FIRST EVER PHOTO OF A PERSON IN 1838, IT WAS OF THE STREETS OF PARIS AND THE PERSON WAS GETTIN HIS SHOES SHINED, IT TOOK 7 MINUTES TO EXPOSE.
IN 1939, DAGUERRE OFFICALLY ANNOUNCED THE INVENTION OF THE DAGUERREOTYPE, A PHOTOGAPH LATERALLY REVERSED AND MONOCHROMATIC PRINTED ONTO A METAL PLATE.
NEAR THE SAME TIME, AN ENGLISHMAN CALLED WILLIAM HENRY FOX TALBOT DEVELOPED ANOTHER TYPE OF PHOTOGRAPH CALLED CALOTYPE. CALOTYPE HAD THE ADVANTAGE OVER THE DAGUERRETYPE; THAT IT COULD BE REPRODUCED A NEGATIVE, RATHER THAN A SINGLE, UNDUPLICATABLE IMAGE.
TALBOT'S CALOTYPE WAS SUPERIOR IN TERMS OF MASS PRODUCTION. HOWEVER, IT LACKED SHARPNESS AND AN OVERALL QUALITY COMPARED WITH DAGUERREOTYPE AND FOR THIS REASON WAS LESS POPULAR IN THE EARLY YEARS.
HOWEVER, THE CALOTYPE IMPROVED OVER TIME AND AS THE PAPER TECHNOLOGY ENHANCED IT LED TO BETTER PROCESSING. THEREFORE, SOON THE CALOTYPE BECAME THE MOST POPULAR FORM OF PHOTOGAPHY AND IS STILL WIDELY USED TODAY.
TALBOT'S INITIAL PHOTOGRAPHIC EXPERIMENTS INVOLVED PRODUCING PHOTOGRAMS, HE REFERRED TO THESE AS 'PHOTOGENIC DRAWINGS'.
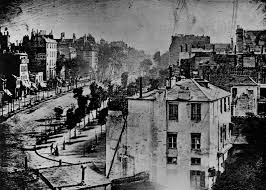
First photograph of a person.
|
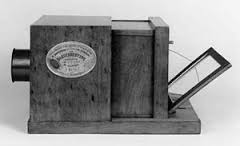
Daguerreotype Camera
|
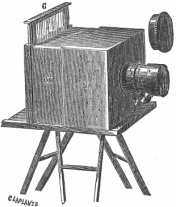
Calotype Camera
|
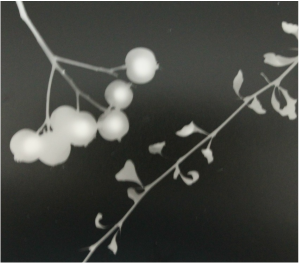
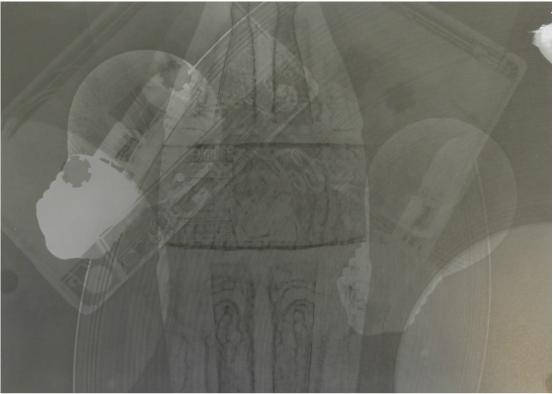
Photograms
A PHOTOGRAM IS A PHOTOGRAPHIC IMAGE MADE WITHOUT A CAMERA BY PLACING OBJECTS DIRECTLY ONTO THE SURFACE OF A PHOTO-SENSITIVE MATERIAL SUCH AS PHOTOGRAPHIC PAPER AND THEN EXPOSING IT TO LIGHT. THE RESULT IS A NEGATIVE SHADOW IMAGE VARYING IN TONE, DEPENDING ON THE TRANSPARENCY OF THE OBJECTS USED. AREAS OF THE PAPER THAT HAVE RECEIVED NO LIGHT APPEAR WHITE; THOSE EXPOSED THROUGH TRANSPARENT OR SEMI-TRANSPARENT OBJECTS APPEAR GREY.
Process Of making a photogram
I Took the light sensitive paper and arranged my items. i turned a red safe light on for visibility.
Once my items were setup, i set the timer on the enlarger for 3 seconds and exposed my picture.
Once my paper was exposed i placed my light sensitive paper in the developer bath for 2 minute. i then took my image with a pair of tongs and let the chemicals drip off the paper.
i then placed the paper in the stop bath for 1 minute. I THEN TOOK MY IMAGE WITH A PAIR OF TONGS AND LET THE CHEMICALS DRIP OFF THE PAPER.
i then placed my paper in the fix bath for 2 minutes.
i then placed my image into the sink and soak with water for 5-10 minutes.
i then placed it into the dryer.
First Response
|

|

|
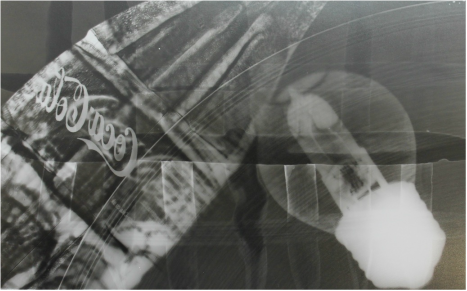
process of solarisation
I TOOK THE LIGHT SENSITIVE PAPER AND ARRANGED MY ITEMS. I TURNED A RED SAFE LIGHT ON FOR VISIBILITY.
ONCE MY ITEMS WERE SETUP, I SET THE TIMER ON THE ENLARGER FOR 3 SECONDS AND EXPOSED MY PICTURE.
ONCE MY PAPER WAS EXPOSED I PLACED MY LIGHT SENSITIVE PAPER IN THE DEVELOPER BATH until the image started to appear. I THEN TOOK MY IMAGE WITH A PAIR OF TONGS AND LET THE CHEMICALS DRIP OFF THE PAPER.
I THEN PLACED THE PAPER IN THE sink.
I THEN placed my paper back onto the enlarger and RE-EXPOSED the paper for 1 second.
ONCE MY PAPER WAS re-EXPOSED I PLACED MY LIGHT SENSITIVE PAPER IN THE DEVELOPER BATH FOR 2 minutes. I THEN TOOK MY IMAGE WITH A PAIR OF TONGS AND LET THE CHEMICALS DRIP OFF THE PAPER.
I THEN PLACED THE PAPER IN THE STOP BATH FOR 1 MINUTE. I THEN TOOK MY IMAGE WITH A PAIR OF TONGS AND LET THE CHEMICALS DRIP OFF THE PAPER.
I THEN PLACED MY PAPER IN THE FIX BATH FOR 2 MINUTES.
I THEN PLACED MY IMAGE INTO THE SINK AND SOAK WITH WATER FOR 5-10 MINUTES.
I THEN PLACED IT INTO THE DRYER.
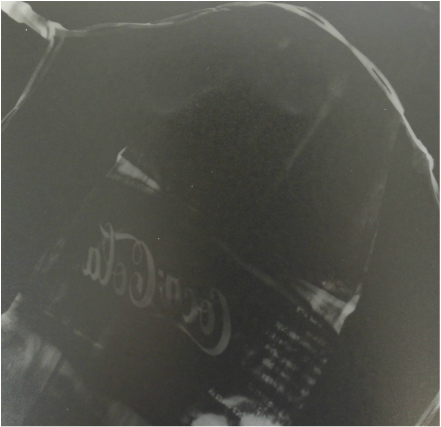
process of double Exposure
I TOOK THE LIGHT SENSITIVE PAPER AND ARRANGED MY ITEMS. I TURNED A RED SAFE LIGHT ON FOR VISIBILITY.
ONCE MY ITEMS WERE SETUP, I SET THE TIMER ON THE ENLARGER FOR 1 SECOND AND EXPOSED MY PICTURE.
i then re-arranged my items in a different way and exposed again for 3 seconds.
ONCE MY PAPER WAS EXPOSED twice I PLACED MY LIGHT SENSITIVE PAPER IN THE DEVELOPER BATH FOR 2 MINUTE. I THEN TOOK MY IMAGE WITH A PAIR OF TONGS AND LET THE CHEMICALS DRIP OFF THE PAPER.
I THEN PLACED THE PAPER IN THE STOP BATH FOR 1 MINUTE. I THEN TOOK MY IMAGE WITH A PAIR OF TONGS AND LET THE CHEMICALS DRIP OFF THE PAPER.
I THEN PLACED MY PAPER IN THE FIX BATH FOR 2 MINUTES.
I THEN PLACED MY IMAGE INTO THE SINK AND SOAK WITH WATER FOR 5-10 MINUTES.
I THEN PLACED IT INTO THE DRYER.
process of painting with developer
I TOOK THE LIGHT SENSITIVE PAPER AND ARRANGED MY ITEMS. I TURNED A RED SAFE LIGHT ON FOR VISIBILITY.
ONCE MY ITEMS WERE SETUP, I SET THE TIMER ON THE ENLARGER FOR 3 SECONDS AND EXPOSED MY PICTURE.
ONCE MY PAPER WAS EXPOSED i painted the paper whith different designs with developer using a paint brush.
I THEN PLACED THE PAPER IN THE STOP BATH FOR 1 MINUTE. I THEN TOOK MY IMAGE WITH A PAIR OF TONGS AND LET THE CHEMICALS DRIP OFF THE PAPER.
I THEN PLACED MY PAPER IN THE FIX BATH FOR 2 MINUTES.
I THEN PLACED MY IMAGE INTO THE SINK AND SOAK WITH WATER FOR 5-10 MINUTES.
I THEN PLACED IT INTO THE DRYER.
second response: Experimentals
|

|
|

|
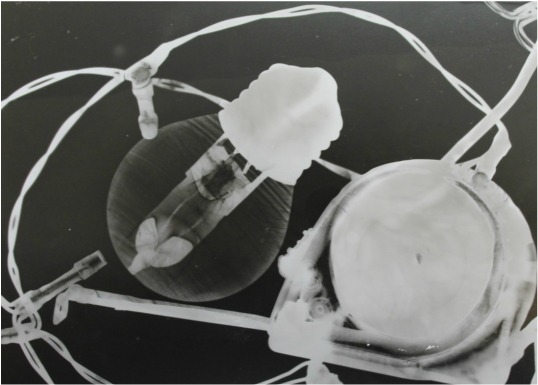
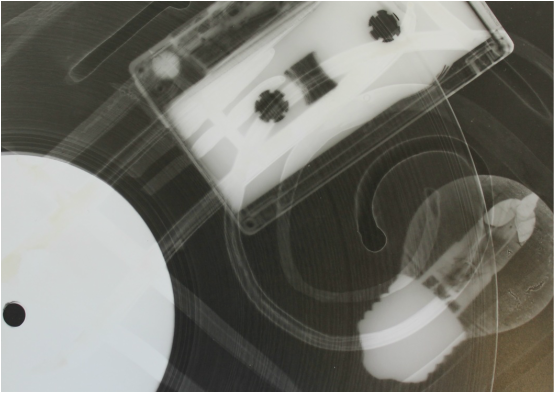
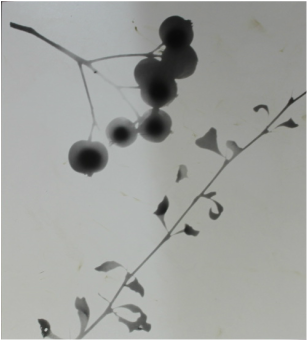
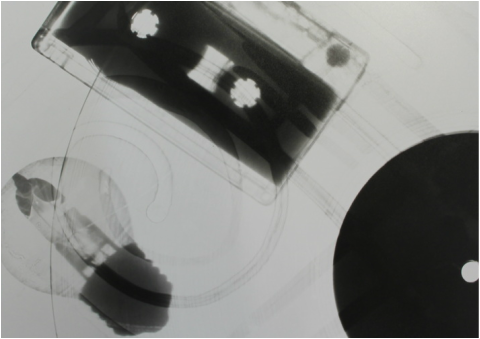
Final photograms
5x Exposure
Painting with Developer
process of sandwich printing
I took my negative photogram and placed it face down on a larger piece of photo paper.
I placed this larger piece of photo paper on the enlarger.
I put on the safety filter and set it to the maximum brightness and then took it down two notches.
I set the timer to two seconds.
I placed a piece of glass on top.
I put a sheet of black card covering 4/5ths of the photogram.
I exposed the remaining 1/5th for the 2 seconds (using the timer).
I then slid back the black card so 2/5ths of the photogram was showing.
I then exposed it for a further 2 seconds.
I repeated this process until the whole photogram had been exposed.
Once my paper was exposed i placed it in the developer bath for 2 minutes. i then took my image with a pair of tongs and let the chemicals drip off the paper.
i then placed the paper in the stop bath for 1 minute. I THEN TOOK MY IMAGE WITH A PAIR OF TONGS AND LET THE CHEMICALS DRIP OFF THE PAPER.
i then placed my paper in the fix bath for 2 minutes.
i then placed my image into the sink and soak with water for 5-10 minutes
i then placed it into the dryer.
I then had a sample that was stripped, with 1/5th being exposed for 10 seconds, 1/5th being exposed for 8 seconds etc.
I then chose which exposed segment looked the best.
I then repeated the above process but this time exposing the whole paper for the same amount of time.
Sandwich prints
|
|
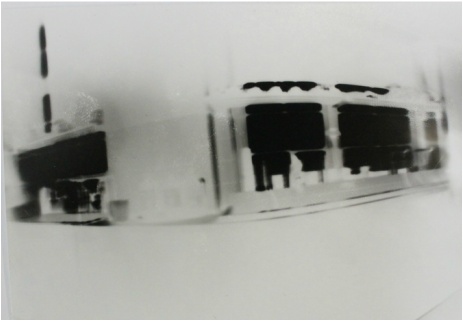
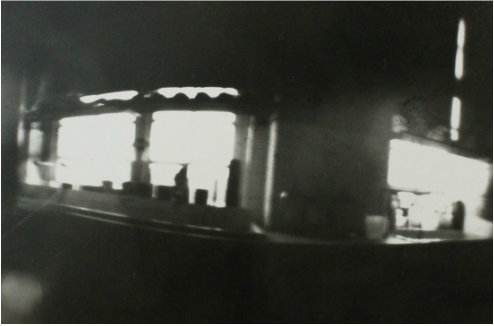
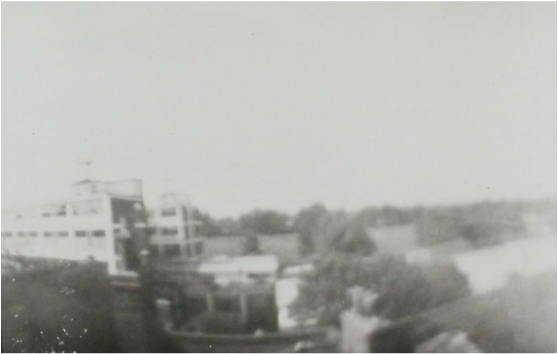
Pin Hole Cameras
Pin hole cameras are based on the Camera obscura, which is a large room or container that has been blacken out except for a small hole of light.
|

|
Sandwich prints
|
|
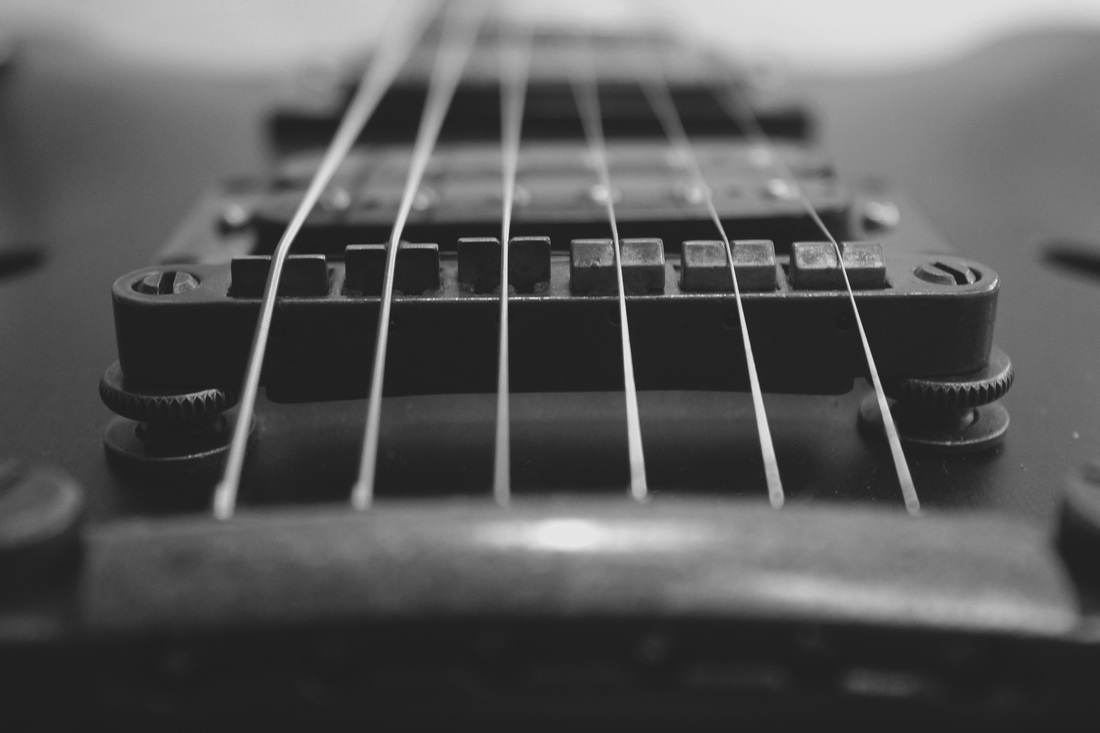
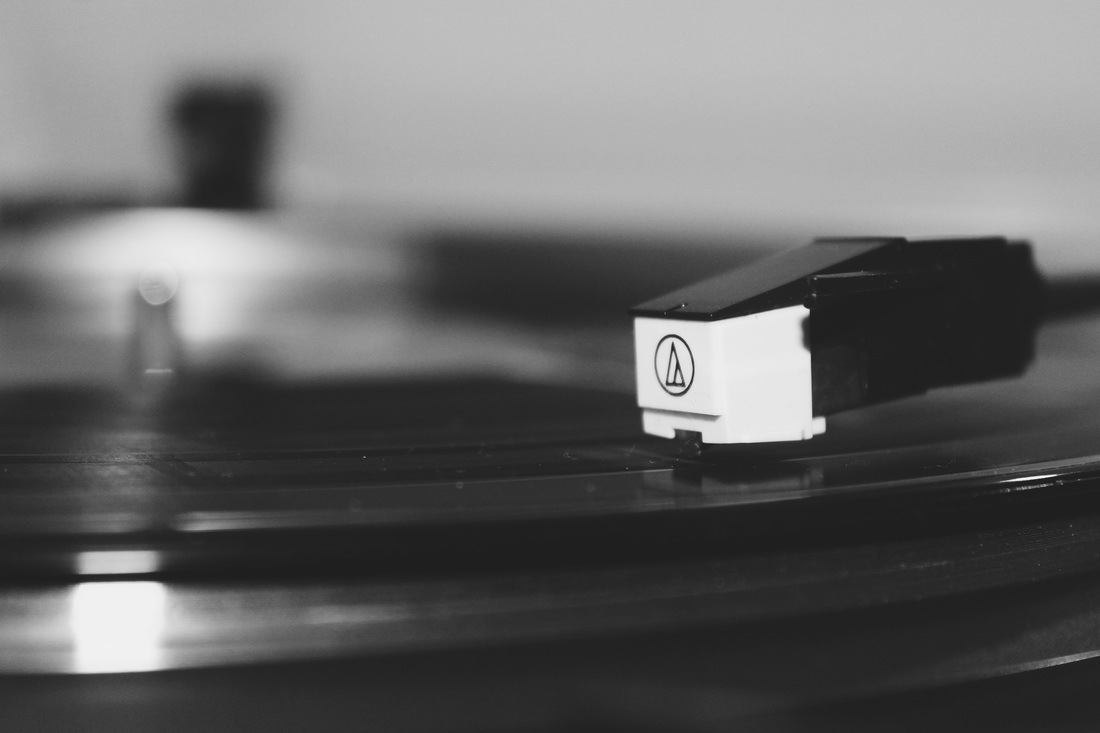
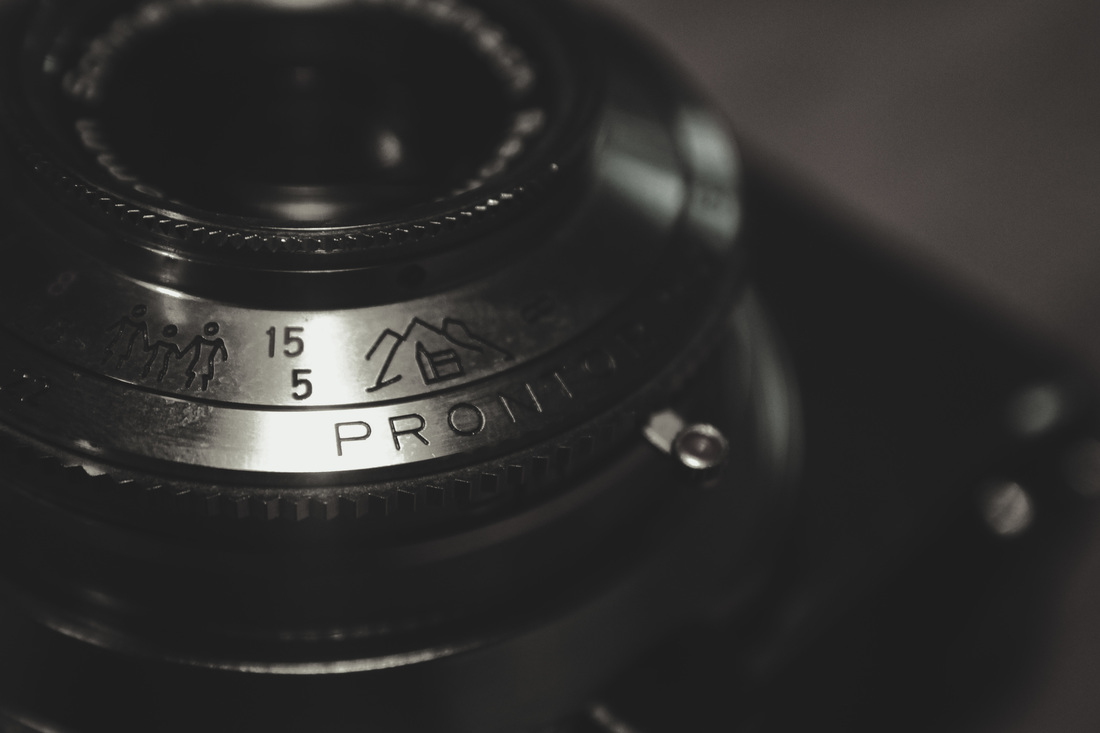
Black and white macro photography
With this set of five photos I wanted to have one aspect of each subject in focus and the rest fading into the background. i used different point of views to draw further attention to the main focus of the photographs.

|
|

|
|
|
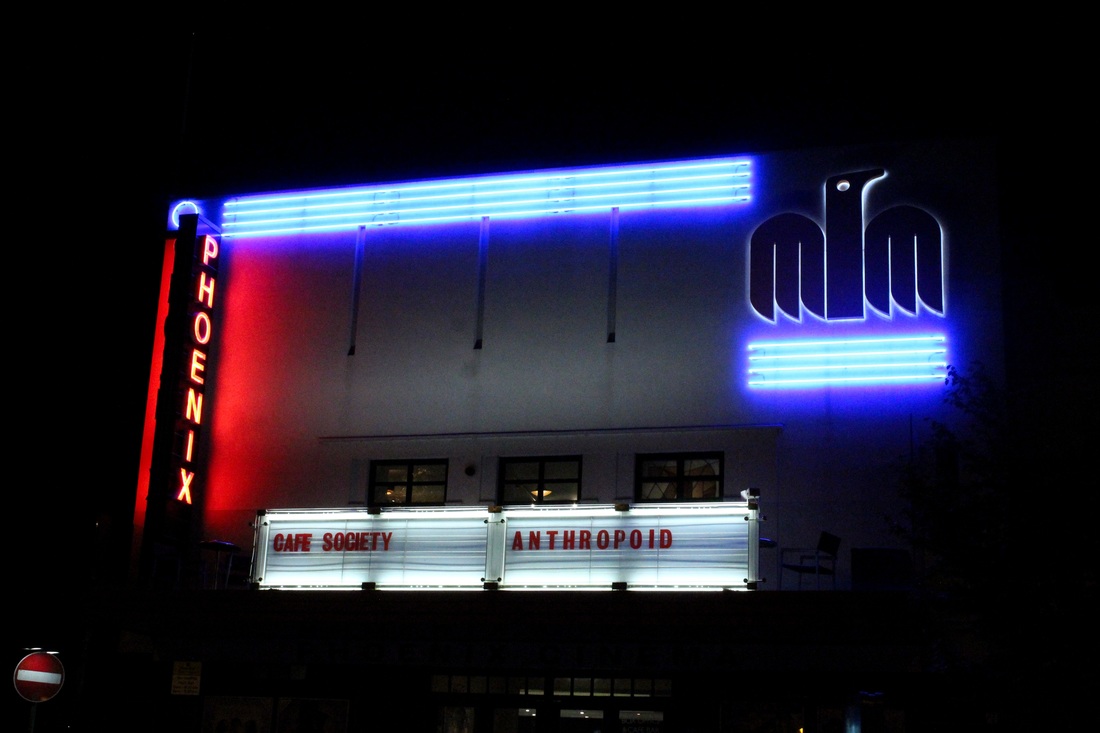
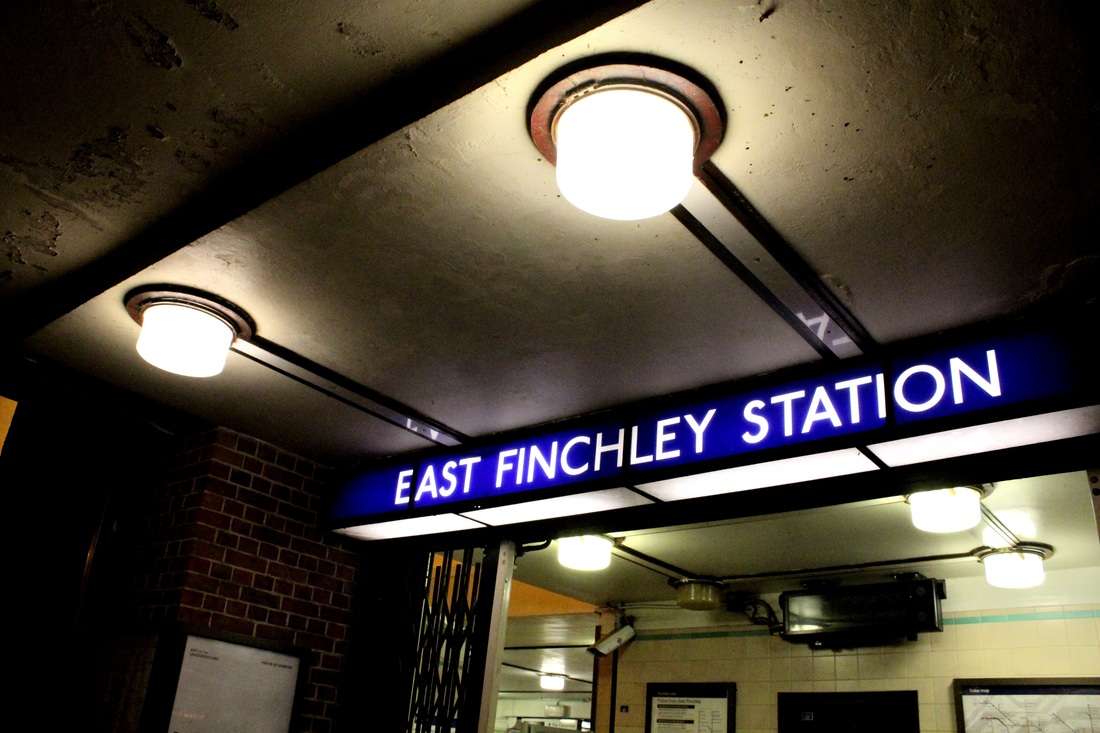
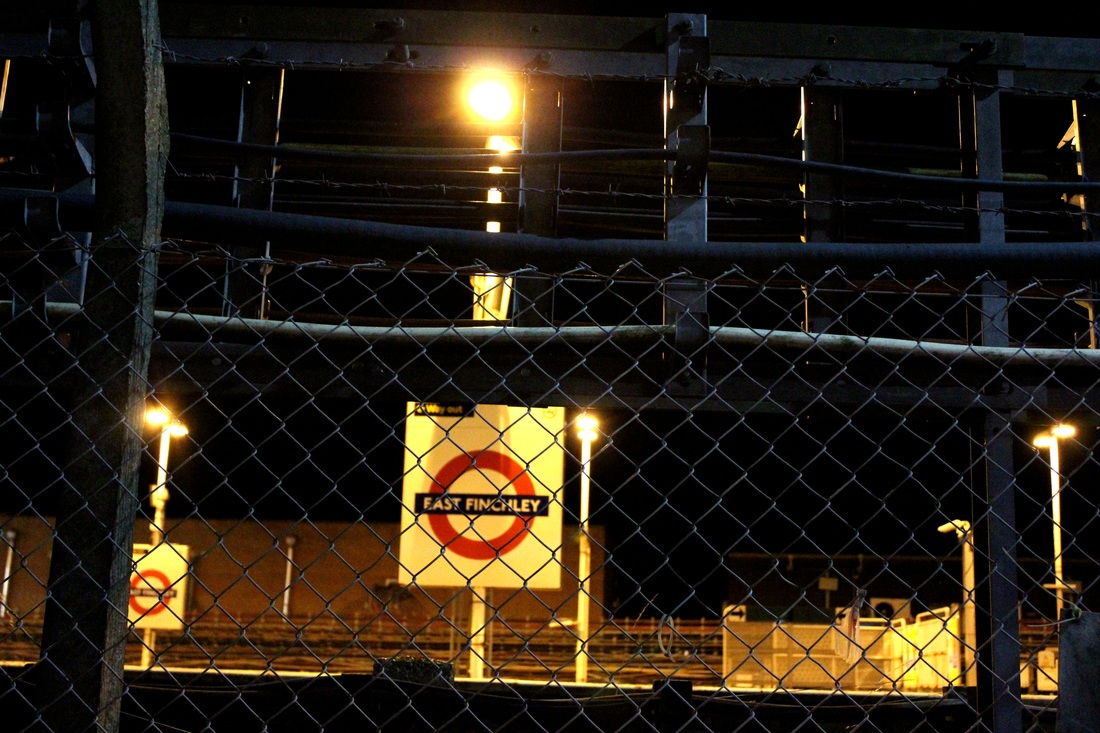
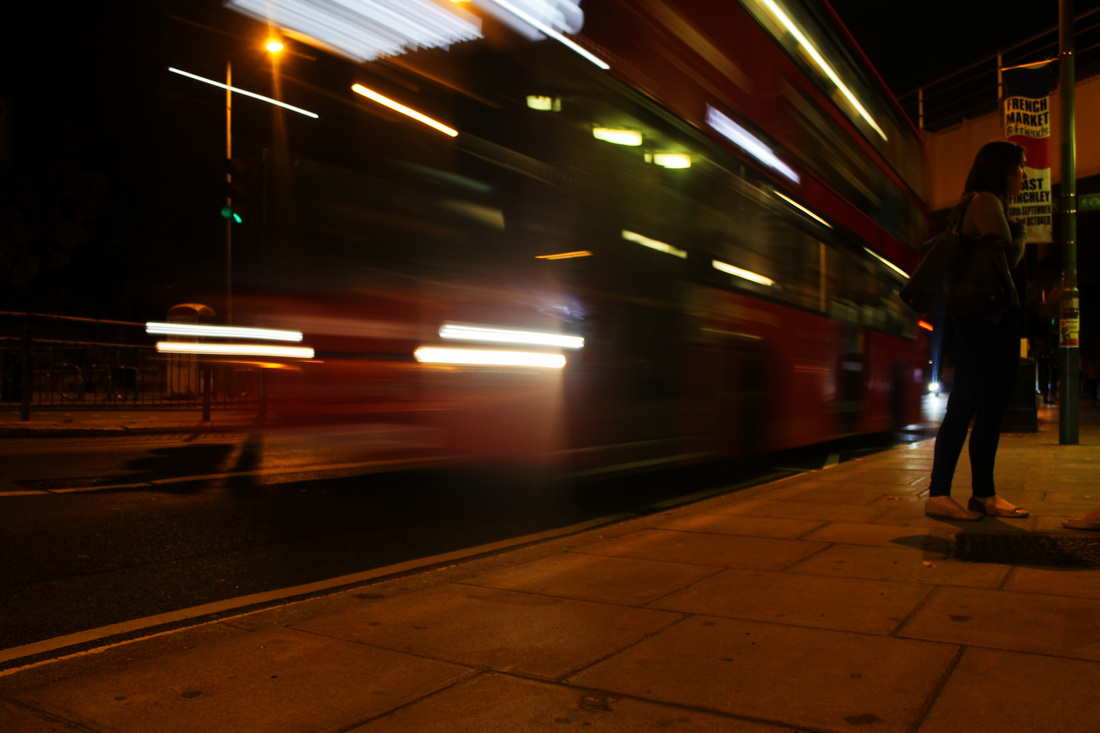
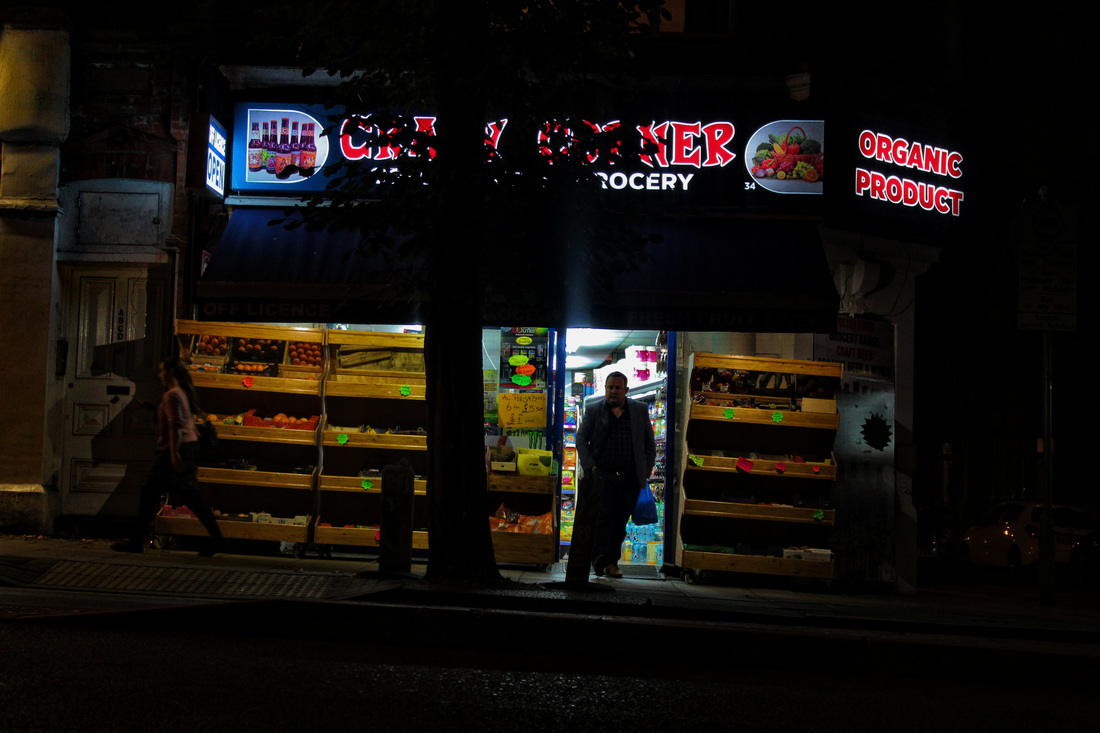
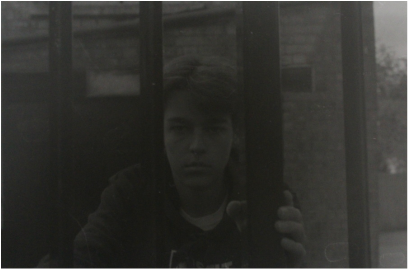
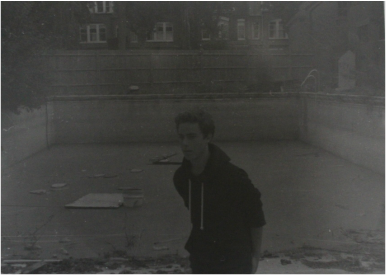
Nightlife photography
With this set of five photographs i wanted to express the contrast between the artifical light and the natural dark.
|
|
|
|
|
The Film Camera
35mm SLR Film Camera
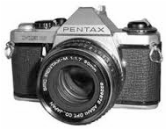
The term SLR refers to the way in which the light passes into the camera lens and allows the viewer to see directly through the lens due to a mirrored 'shutter'. When the shutter release is pressed the mirrored shutter opens and light hits the film for a certain period of time. Therefore, the shutter serves two purposes: as a mechanism for allowing light to hit the film for a fixed time and as a viewer.
Types of film

Photographic film is made of a type of plastic/acetate that is coated in a light-sensitive emulsion.
The sensitivity of light is measured using a unit called ISO (which is a standard used across the world and is an acronym for 'International STANDARDISATION Organisation).
this is basic breakdown of different sensitivities:
The sensitivity of light is measured using a unit called ISO (which is a standard used across the world and is an acronym for 'International STANDARDISATION Organisation).
this is basic breakdown of different sensitivities:
- ISO 25-100 : Slow Flim (Low sensitivity)
Benefits: fine grain, excellent quality
Disadvantages: needs strong light source - ISO 200-400 : Medium Film (Mid sensitivity)
Benefits: good quality all round film
Disadvantages: can be too slow in low light - ISO 800-1600+ : Fast Film (High sensitivity)
Benefits: good in low light/dark settings; no need for using flash
Disadvantages: grainy quality
Aperture
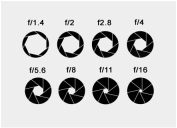
The aperture determines how much light is exposed in the shot. the lower numbers equal more light exposure.
F/2.8 opens the aperture up to let a lot of light in, which is good in low light situations.
F/16 only lets in a little light, and is good on bright days when there is a lot of natural light.
F/2.8 opens the aperture up to let a lot of light in, which is good in low light situations.
F/16 only lets in a little light, and is good on bright days when there is a lot of natural light.
shutter speed
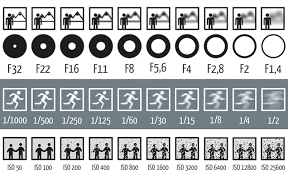
The shutter speed setting determines how fast camera shutter opens and closes when taking a photo. Long shutter speeds open the shutter for more time, letting in more exposure and light. If you leave the shutter open for too long, the image will become overexposed.
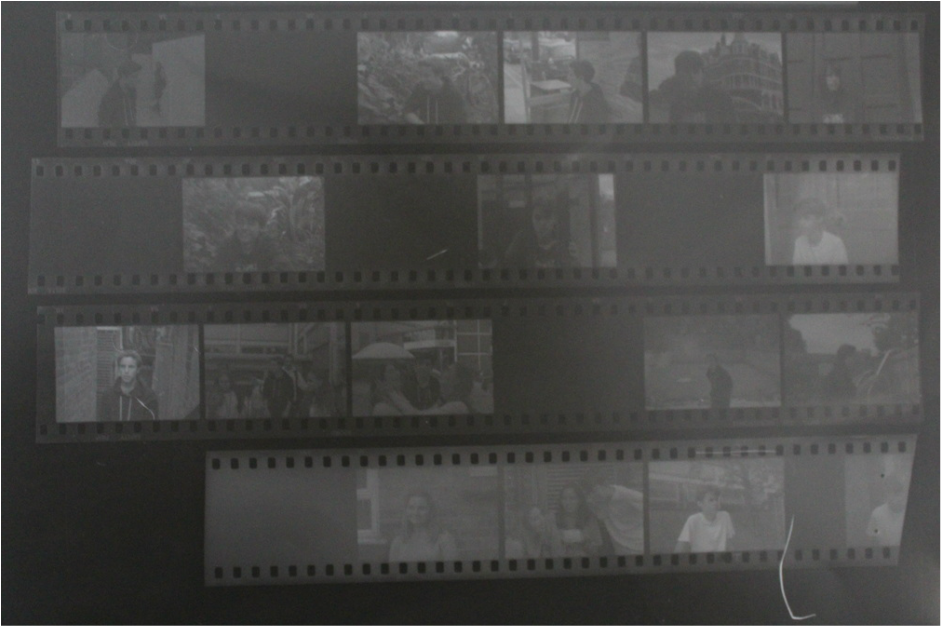
Contact sheets

a contact sheet is all the frames of a developed roll of negative print film, used as a proof print. from this a photographer can determine which photographs to develop.
a photographer that uses contact sheets to express their work is vivian maier. an example of her work is shown on the right. here it's clear that she has used the contact sheet to capture the same moment from different positions in order to capture 'the moment'.
a photographer that uses contact sheets to express their work is vivian maier. an example of her work is shown on the right. here it's clear that she has used the contact sheet to capture the same moment from different positions in order to capture 'the moment'.
my contact sheet
for my contact sheet i focused on portraiture. i photographed in several locations, both in and around the school. I chose to shoot in several locations so I could explore the surroundings while keeping the focus of the photographs the same.
|
|
